

What are the steps to installing a metal roof?
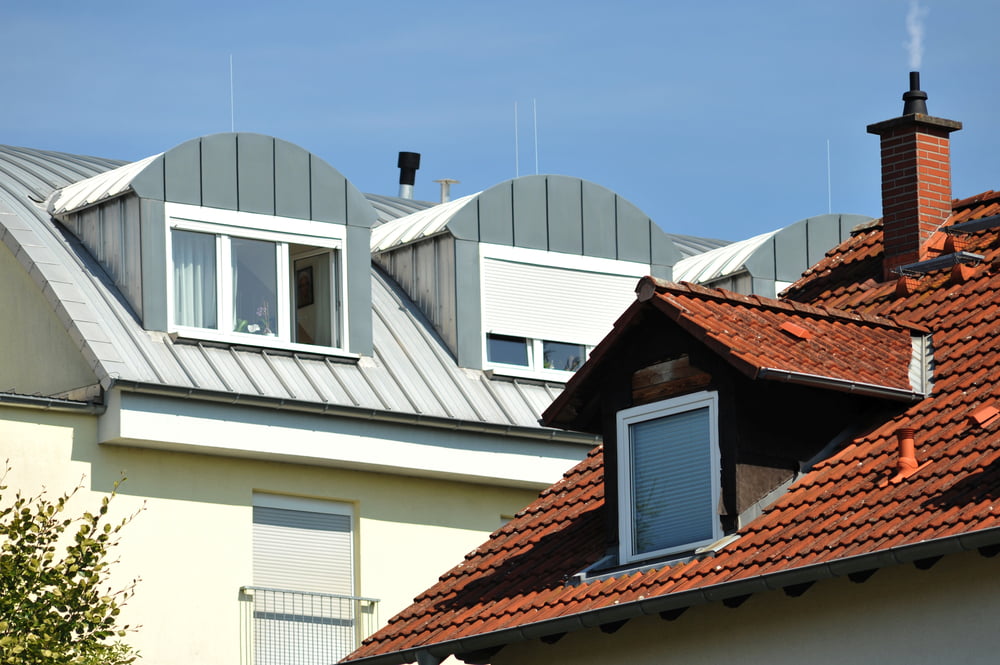
Choosing standing seam metal roofing means you’re opting for a blend of durability and modern design. With the low maintenance requirements of standing seam metal roofing and their long lifespans, it’s no surprise these roofs are highly regarded. But to get the most out of your standing seam metal roof, it’s important to have it professionally set up. Let’s take a look at the steps the pros will take to ensure a flawless installation.
1. Preparation
It all begins with careful preparations. This part of the process is more focused on the property than the new features, but it’s one of the most important steps in ensuring the results look and function up to the standard. The professionals will first take measurements and plan the layout so that they can order the right amount and type of materials. This is also when you’ll choose your new standing seam metal roof’s color and finalize any other details.
Once everything’s decided, they source the materials and bring them to your property on installation day. Before any work starts, the crew will first prepare the site. Most importantly, they’ll inspect the roof deck to make sure it’s structurally sound, clean, and dry.
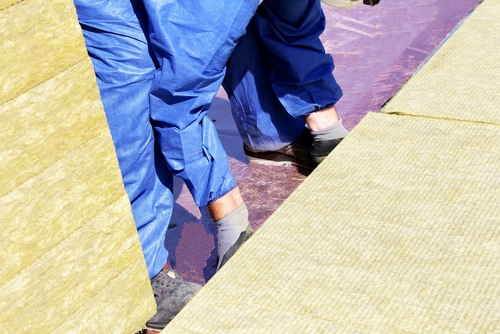
2. Underlayment
It may seem like a small step, but underlayment helps protect your new system and your home against the harsh elements. For this layer, professionals will choose high-quality materials and tailor the result to your project’s specific needs. Once the deck is prepared, they’ll carefully roll out and secure the underlayment while overlapping rows for full coverage. This step noticeably boosts the system’s performance, protection, and longevity.
3. Panel preparation
With a standing seam metal roof, the installation process looks a bit different compared to that of other materials. This type of material comes in coils that get roll-formed on-site to meet the needs of the specific roof. All metal accessories, on the other hand, get custom bent at our shop according to the provided lengths and specifications. Aside from ensuring a perfect fit, customizing panels on-site helps minimize waste.
4. Attaching panels
To finally attach the panels, your roofers will start by placing the first one at one end and securing it to the deck with clips or screws. This first panel has to be perfectly square to the roof edge, and the fasteners are typically hidden within the seams for a clean look.
Then, they’ll place the second panel next to it and mechanically crimp it with a seamer. From all of this, it’s pretty clear that placing these panels correctly requires professional precision and equipment. This is why it’s important to only trust reputable professionals who know how to install a standing seam metal roof and have experience in doing so.
5. Trimming & flashing
Once all the panels are in place, it’s time for trimming and flashing. This crucial step helps achieve that polished look, makes the structure truly and completely water-tight, and accommodates thermal expansion. Whatever the structure of your roof, experts will place trims on edges and flashing at critical spots like valleys, ridges, and hips.
6. Final inspection
Now that the entire system is set up, the professionals will dedicate time for a thorough final checkup. They’ll inspect the roof for gaps, potential leak points, or any other issues that could cause problems down the road. If they finish this meticulous final inspection and find no issues, you can rest assured that your new system is ready to provide long-lasting protection. It’s the final touch that guarantees everything’s been done right.
In conclusion
As you can see, placing this type of roofing is a complex process that requires precision and expertise. These steps are fascinating to learn about but remember: Professional installation is the only way to make sure you get the perfect results. By trusting the experts, you can have peace of mind knowing that your new system will perform exceptionally well and boost the beauty and value of your property for years to come.
 Who provides the best metal roof installation service in the region?
If you’re ready to upgrade to a standing seam metal system, count on Horch Roofing to handle all stages of the process. With our capable team of professionals, the finest materials, and refined methods, we can promise you a streamlined project course and flawless results.
Besides metal standing seam systems, we specialize in asphalt shingle and EPDM rubber roofing, seamless gutter installation, and comprehensive repair and maintenance services. Whether you need our help in Warren or another area in Coastal Maine, we’ve got you covered. Contact us today to learn more about our services and products and schedule your consultation. Trust us to provide only the best solutions for your home!

