A go-to choice for many homeowners, asphalt shingles are celebrated for their great balance of durability, affordability, and versatility in design. If you’ve decided to join the ranks of many satisfied homeowners and install asphalt shingle roofing on your home, you may now be wondering about the process itself.
While it’s best to leave the job to the professionals to ensure optimal results, understanding all the steps can make this upcoming project much more enjoyable. To help demystify the process, below is a guide for asphalt shingle roofing installation. Read on!
How to install asphalt shingle roofing?
Although they are praised for being one of the easiest roofing materials in terms of how-to-install, asphalt roof shingles still require a high level of skill and attention to detail. Whether you’re new to the world of asphalt roofing or if this material has been your choice in the past too, know that the installation process is straightforward when handled by the experts. With the right professional help, you can rest assured that your new system will be installed swiftly and correctly. Let’s take a look at the steps of the process:
Plan ahead
Before you dive into the project, it’s important to plan ahead. This first step includes checking for permits, understanding relevant building codes, and more. Another important thing to consider is the timing. You want to find the time that best works for you, that’s close, and of course, don’t forget to take weather conditions into account.
Roofing is best done during times of nice weather, both due to safety reasons and the efficiency of installation. With skilled experts at your helm, you can count on their expertise to navigate these preliminary steps. They’ll make sure that all necessary paperwork is in order and choose the right time to begin work. This foresight is key to a successful and efficient project.
Choosing the right materials
While they are one among many different materials, asphalt shingles aren’t one-size-fits-all either. They come in various grades and styles, and you should take the time to pick the option that works best for you and your home. The choice depends on your home’s architecture, your budget, personal preferences, and much more.
All of the considerations may make you overwhelmed, but that’s why the experts are there to help. They’ll ask the right questions, assess your needs, and then make suggestions for options that maximize the benefits of asphalt shingle roofing for your specific situation.
Preparing the deck
A solid installation starts with a solid foundation. This means that the roof deck has to be properly prepared before any new materials are introduced. It’s important to remove all old materials, check for and repair any damages, and make sure that the surface is clean and flat. It may not seem like it, but this stage is crucial to guarantee your new roof’s durability and longevity.
Installing underlayment
The underlayment is a layer that’s installed over the deck before the shingles are laid down. This layer provides that additional barrier against water and helps safeguard your home from the elements. Underlayment is especially important if you’re looking to extend your roof’s lifespan in an area prone to harsh weather and secure solid protection against leaks.
Laying starter shingles
Now that all the steps of preparations are finished, it’s time to focus on the actual installation. Knowing how to put asphalt shingles on a roof is crucial here because improper placement can impact the whole structure.
First come the starter shingles, which are laid along the roof’s edges. They are essential for proper water shedding, and they also serve as a base row for the rest of the tiles. It’s important to be very precise at this stage because it sets the tone for the entire system’s alignment and effectiveness.
Applying the shingles
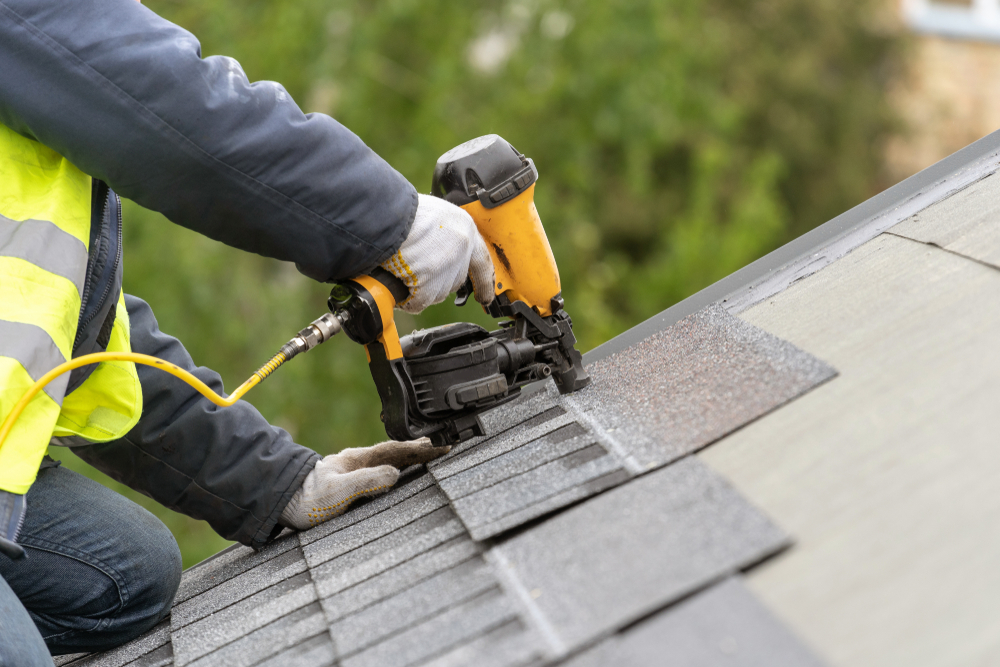
It’s now time to apply the rest of the shingles, starting from the bottom of the roof and working upward. The usual technique is to make sure each tile overlaps the one below, which allows the water to flow off without seeping underneath.
While it may sound simple, professionals use a specific nailing pattern to secure the tiles, which can vary based on the type and specifications of the materials and underlying structures. This is why it’s always best to leave the task to an expert who knows how to install asphalt roofing and has previous experience with doing so.
Flashing installation
Most roofs have chimneys, vent pipes, dormers, and other similar structures, as well as valleys and eaves. These are considered especially vulnerable areas, and flashing is there to protect them by directing the water away and preventing leaks.
Final inspections & cleanup
Once the last shingle is laid down and all of the materials are placed where they belong, the installation is officially finished. Still, the professionals will not finish the whole process there, they’ll conduct a thorough inspection to ensure that every aspect meets the set standards. They’ll check the alignments, flashing, cleanliness, and much more, all to make sure your new structure is as perfect as it can be.
Finally, it’s time for cleanup, where the focus is on removing all debris and leftover materials and leaving your property as neat as it was before any work began. Don’t forget, though, that your asphalt roof needs regular maintenance to function properly and serve you for years to come.
 What is the most dependable company for asphalt roof installation?
Let Horch Roofing be your guide through every step of the roofing process. With our 20+ years of industry experience, a team of skilled professionals armed with the latest tools, and access to the highest-quality materials, we are your go-to choice for top-quality roofing.
Operating from South Portland and Warren, we proudly serve numerous locations across Coastal Maine. Interested in another type of roofing? Aside from asphalt shingles, we install standing seam metal and EPDM rubber roofs, seamless gutters, and offer repair and maintenance services. Choose us for a seamless, reliable experience!


 What is the most dependable company for asphalt roof installation?